Booting from NVMe
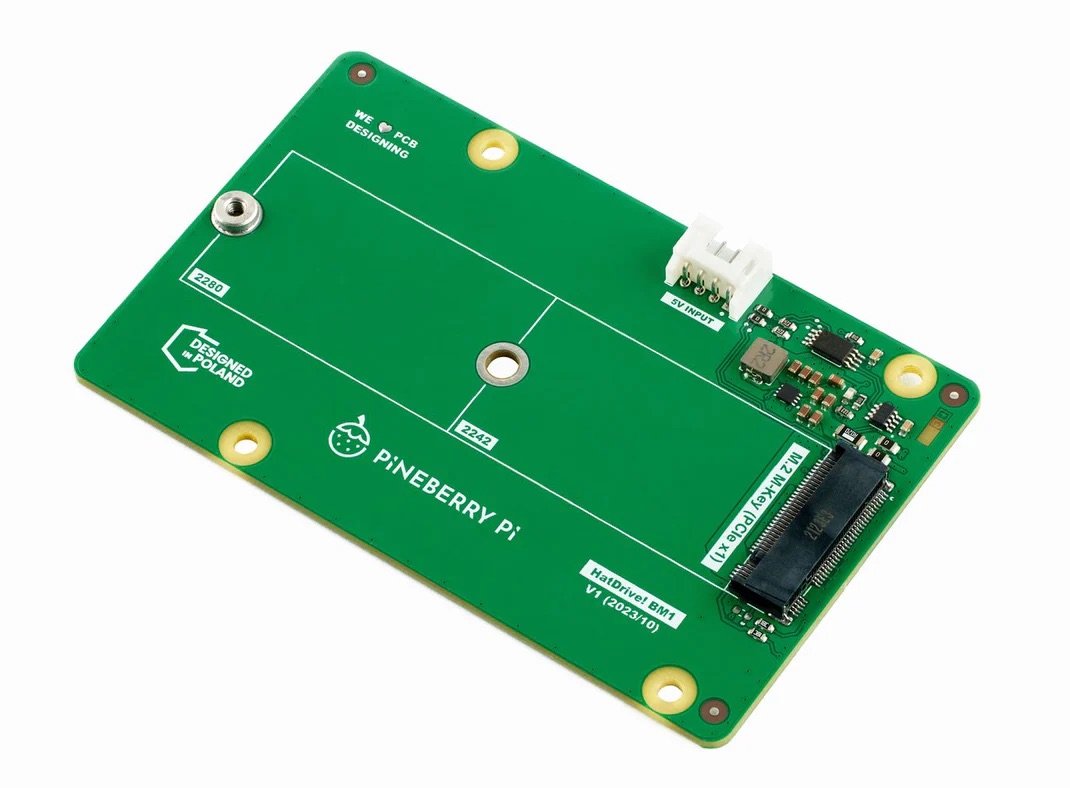
There are a few simple steps you need to make in order to boot from NVMe on your Raspberry Pi 5. This quide assumes that you are running Raspbian from an SD Card and you have correctly installed your HatDrive! together with a compatible drive.
- Ensure your system is up to date. This is crucial since old firmware revisions do not support booting from NVMe. Execute those commands in your terminal:
sudo apt-get update,sudo apt-get upgrade - Reboot your Pi with:
sudo reboot - Edit the EEPROM on the Raspberry Pi 5.
sudo rpi-eeprom-config --edit - Change the BOOT_ORDER line to the following:
BOOT_ORDER=0xf416 - Add PCIE_PROBE to enumerate over the PCIe bus:
PCIE_PROBE=1 - Press Ctrl-O, then enter, to write the change to the file.
- Press Ctrl-X to exit nano (the editor).
- Reboot your Pi with:
sudo reboot - If you have your NVMe drive connected you can use Raspberry Pi Imager to install a fresh copy of the os. After doing so you can power off your board and remove the SD Card. Your Pi will now boot from the NVMe drive.
NOTE
We’ve seen constant firmware changes on the Pi 5 that affect the NVMe boot functionality. This guide will be updated if the configuration changes. Please report NVMe boot related issues to the official EEPROM repository.